Ocean Card
蜉蝣 MayFly
EP2重置版版本信息、剧情看点与CG回收指南
国风视觉小说都市异能题材EP2重置版官方中文CG回收PC安卓双端
Ocean Card
EP2重置版版本信息、剧情看点与CG回收指南
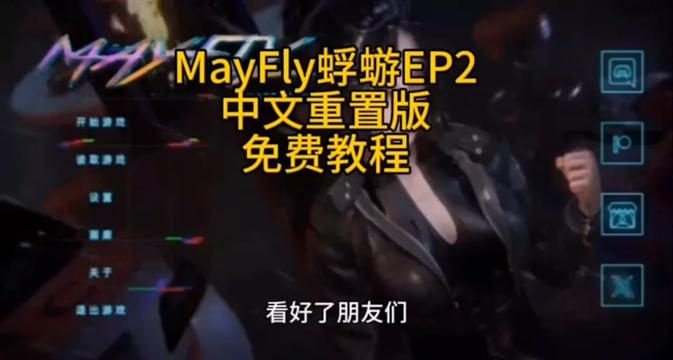
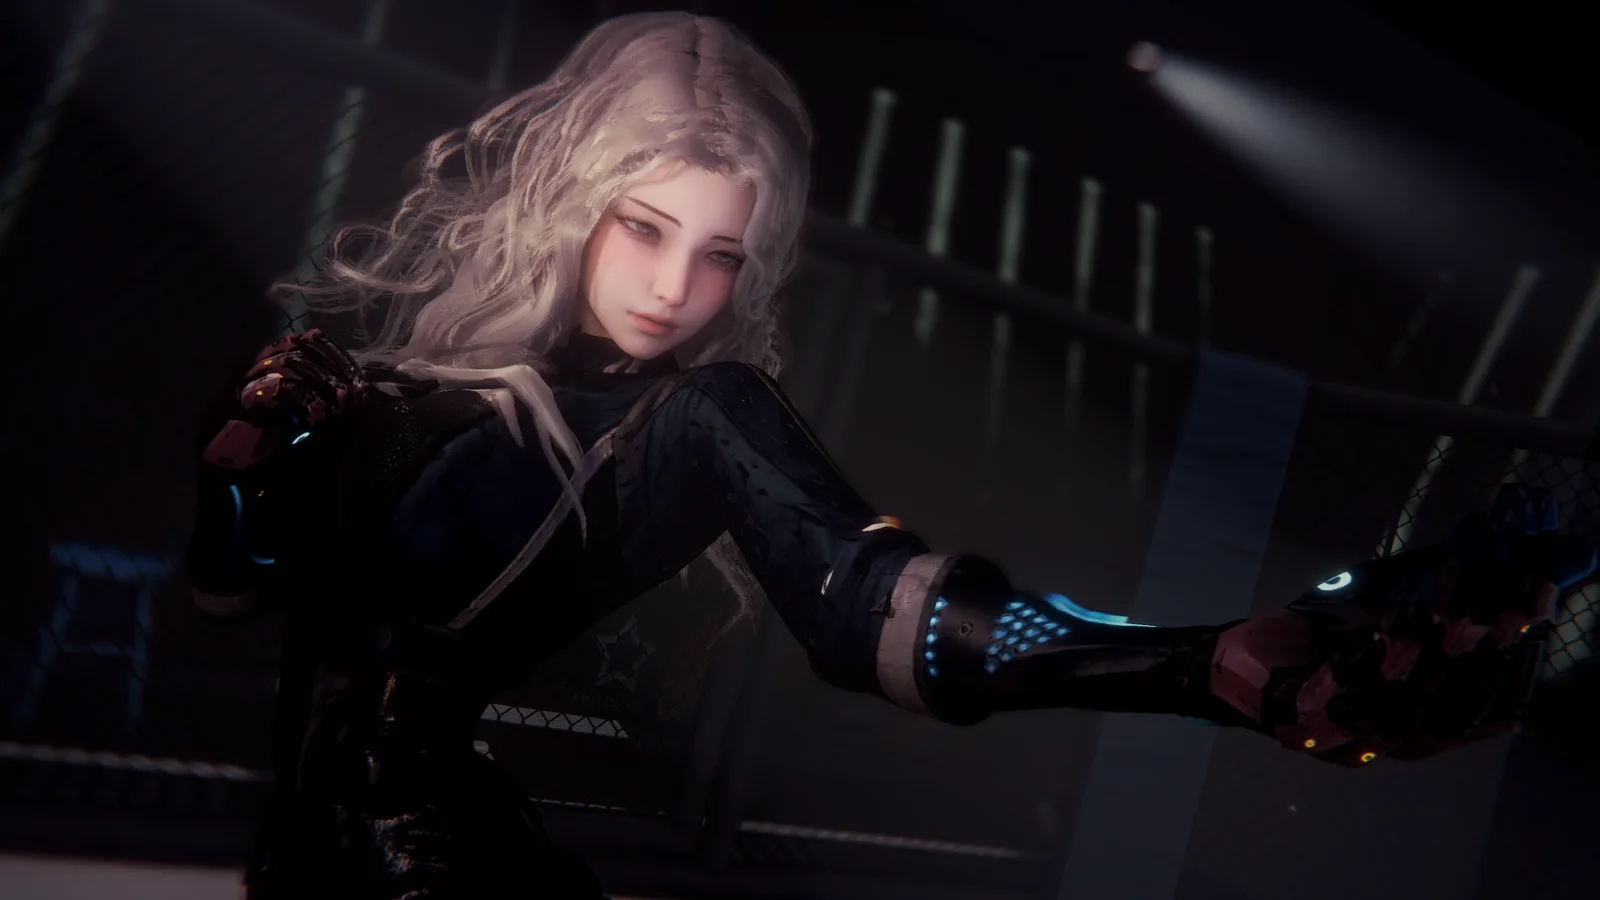
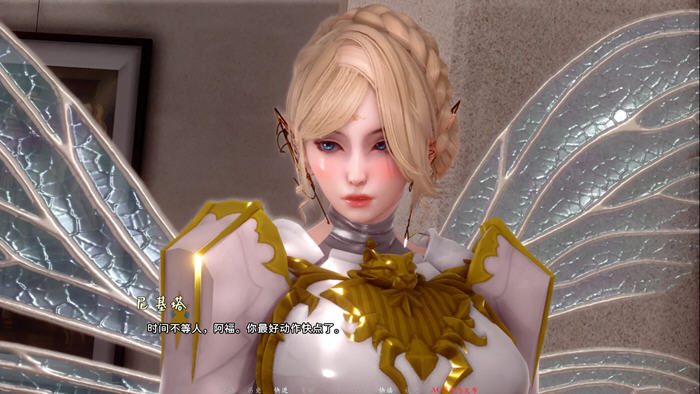
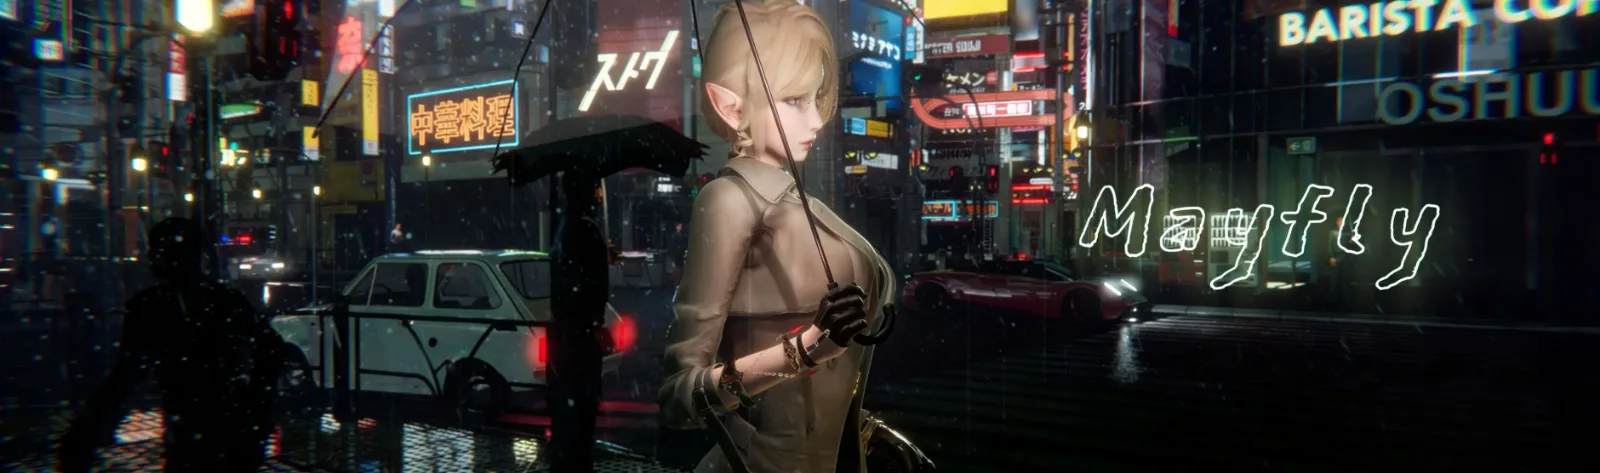
《蜉蝣》(MayFly)是 JasonTon 制作的国风 SLG / 视觉小说,中文页面常见名称包括 MayFly EP2、蜉蝣EP2重置版与官方中文重置版。作品把现代都市氛围、国风审美和异能题材结合在一起,主打高级建模、动态演出与角色互动,公开资料里常见的版本标识多为 Ver0.2、EP2 或 Public Release。
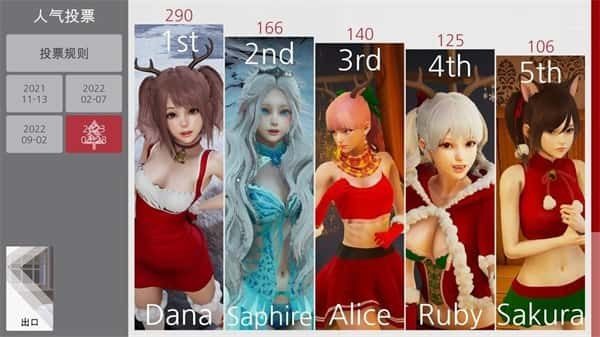
故事舞台设定在阶层分化明显的德文郡。这座超级都市表面繁华有序,实际上上城区与下城区长期割裂,社团势力、异能事件和社会冲突不断累积。玩家会随着剧情推进,逐步接触城市秩序背后的秘密,在人物关系与关键抉择中体验悬念层层展开的叙事节奏。
EP2重置版最受关注的部分是画面与演出升级。中文页面常提到 1135 张重构渲染图、14 组动态 CG 和 30 首原创国风音乐,官方开发日志也记录了大量新渲染、动画、代码与音效更新。对于喜欢都市异能、电影感分镜和剧情回收玩法的玩家来说,这一版更能体现作品的完整氛围。
游玩《蜉蝣 MayFly》时,先确认自己拿到的是哪个版本。中文资源页常见写法包括 Ver0.2、EP2、EP2重置版和 Public Release,不同转载页面在容量、菜单样式和版本名称上可能会有细微差异。首次进入游戏后,建议先检查语言设置,因为公开记录里提到部分版本默认可能是英语;随后把文本速度、自动播放、音量和窗口模式调到顺手,再建立一个“初始存档”,后续回收分支会轻松很多。
这款作品本质上更偏剧情驱动的视觉小说体验,真正有用的攻略思路不是盲目快进,而是理清世界观与角色关系。德文郡的上城区和下城区存在明显阶层对立,异能者、义警体系与城市秩序失衡共同构成了主线矛盾。阅读时遇到新角色登场、重要地点切换、章节收束或明显的剧情转折,最好单独保留一个存档位,不要只依赖自动存档或单一覆盖档,这样后面补分支时能省下大量时间。

如果目标是做 CG 回收和事件补全,推荐采用“章节档、关键选项前档、关键选项后档”三层存档法。EP2重置版强化了渲染图、动态 CG 和剧情演出,部分画廊内容往往和路线选择、角色倾向或章节推进顺序有关。看到 Gallery 缺项时先别急着怀疑流程出错,优先回到最近的分支点尝试另一条路线;有些缺失也可能来自不同转载版本的开放状态不同,并不一定是你漏掉了所有条件。

更新版本前一定要先备份旧文件和旧存档。官方 EP2 开发日志明确提到 0.1 存档在 0.2 中不再可用,所以从早期版本切到 EP2重置版时,最稳妥的方式是保留完整旧目录,再用新版本重新开档测试。PC 版存档常见于游戏目录、Ren'Py 存档目录或 AppData/Roaming/RenPy;安卓版多在应用私有目录。跨版本直接覆盖前先复制一份备份,能有效避免读档异常后无法回退的问题。
如果遇到卡关、闪退或剧情无法继续,优先排查几件事:是否误用了 0.1 旧存档进入 0.2,是否跳过了关键选择,是否下载到不完整的安卓移植包,以及当前包体是否只包含部分章节。PC 版建议解压到英文路径后再启动,不要在压缩包内直接运行;安卓端则要确认剩余空间、安装权限和横屏显示是否正常。整体来说,《蜉蝣》更适合慢节奏推进,多留关键档、少跳未读文本,才能更完整地看懂伏笔,也更方便后续做路线与 CG 回收。
创建《蜉蝣 / MayFly》资料目录
确认标题别名:蜉蝣、MayFly、Mayfly、MayFly EP2
确认作者与品牌信息:JasonTon / JasonTonGames
确认常见版本:Ver0.2、EP2、EP2重置版、EP2官方中文重置版、Public Release
确认常见平台:PC、安卓、PC+安卓双端
确认常见容量记录:3.52GB、3.6GB